Table of Contents
1. Context
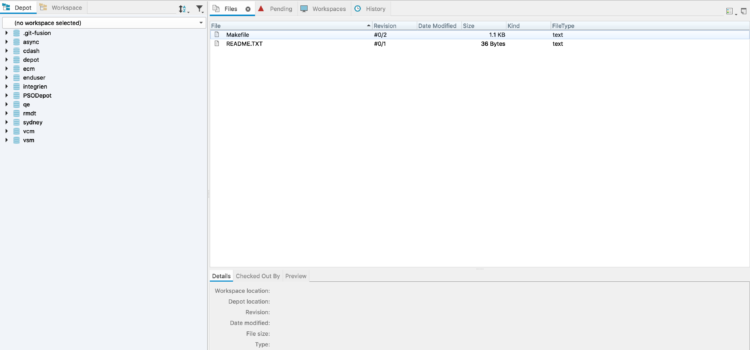
Out of all source control systems I have used, I found Git extremely lightweight and easy to use. I am a huge Git fan. I prefer to use Git from the command line rather than using a user interface-based app. For the last couple of years, I have been working on a project that uses Perforce for source control. Perforce workflow is not much different from Git or any other source control system. So, I adopted it easily. However, I started using the ‘Perforce Helix P4V’ user interface-based app for all my work, starting from syncing my local workspace to creating a change list, checkout, submit, etc.

I was not quite happy using another user interface that is always open on my laptop for Perforce operations. I knew about p4 commands but I thought it is not good enough or at least not on par git cli. Recently, I thought let me try it and if it is not good always I can go back to the user interface. Believe me, I like p4. The documentation is very much elaborative with examples and above all, everything just works.
2. Login and Sync Workspace
Login and sync the local workspace with remote.
# Change directory to Perforce workspace
cd workspace

# Login
p4 login -a

# Sync current workspace files
p4 sync <workspace_path>/...#head

# Or simply execute
p4 sync
3. Create and Manage Changelist
Create, list, and view the changelist.
# Create a new changelist. Opens an editor where the template text can be modified
p4 change

# Create a new changelist. Template content has to be supplied on console
p4 change -i

# List my pending changelist. Valid status: pending, submitted, shelved
p4 changes -s pending -u <user_id>

# View details of a changelist
p4 describe <changelist_number>
4. Manage Files in Changelist
Check out an existing file, add a new file to a changelist, view diff and submit a changelist.
# Checkout files
p4 edit -c <changelist_number> file

# Add files
p4 add -c <changelist_number> file

# Delete files
p4 delete -c <changelist_number> file

# Revert a file
p4 revert -c <changelist_number> file
5. Shelve or Delete a Changelist
Shelve, unshelve files or delete a changelist.
# Shelve files from a changelist
p4 shelve -c <changelist_number>

# Unshelve files from a changelist to a new different changelist
p4 unshelve -s <changelist_number> -c <new_changelist_number>

# Delete a changelist
p4 change -d <changelist_number>
6. Submit a Changelist
View file diff and submit a changelist.
# View diff
p4 diff file

# Submit a changelist
p4 submit -c <changelist_number>
The full list of p4 commands are available here: perforce
Be The First
Join our list to get instant access to new articles and weekly newsletter.


